
Edge search: GEOFRS and GEOFRP
GEOFRS searches for an edge (the transition from light to dark) along a segment; GEOFRP searches for a pair of edges, and therefore the width of a band. The segment is thick: the tool follows the edge across the whole thickness and rejects dust and scratches.
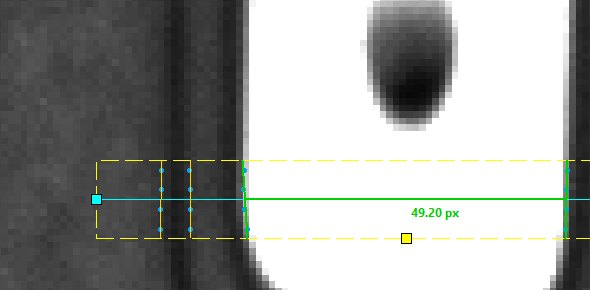
An edge along a segment
Segment D,E → G,H gives the scanning direction; thickness F is set with the yellow handle. The retained edge is drawn in green on the image and on the graph.
The graph shows the profile (grey), the mean contrast (blue) and the contrast of each band (white dots); the low and high thresholds are set by dragging them.
Seeing what is rejected
“Afficher les parasites” (show spurious edges) displays the refused edges (in red): here the texture of the white. The table gives, for each edge, its position, direction, contrast, coverage of the thickness and angle. “Cliquer sur le front voulu” (click the desired edge) sets the thresholds to keep that edge and reject the others.
The width of a band
GEOFRP searches for a pair of edges in opposite directions: light band, dark band or either, the strongest, the first, the closest to an expected width, or from the centre for a hole. Here the width of the white hole: 49.20 pixels.
How the tool finds edges
The “i” badge at the top right details the method: bands, contrast points, chaining along the edge, measurement, choice, and what the window shows.
